From the day we first moved into our adorable house, there's been one area that needed some attention. I knew that with a little Pinterest inspiration, this spot could be spectacular. This is by the side door that goes into the kitchen and we use it all the time. Hence, it is the easiest spot for Colin to leave his dirty work boots (thankfully he doesn't wear them in the house). We ended up leaving other shoes, a watering can, and a broom for a while too. Not exactly a welcoming sight for visitors or us. Here it is:
Our first idea was to find a storage bench but after looking around for a couple of months we realized that it would be hard to locate a bench for that small spot. I stumbled upon a blog and her
shoe parking idea was perfect. This was inspiration I needed.
We went to an antique show a few of weekends ago and I found some old crates there. I decided $30 for one
crappy antique crate was a little ridiculous especially when I needed two or three. I had seen several ideas on Pinterest using crates from craft stores so I decided that was the way to go. I ended up spending under $25 for three crates by using a couple coupons. We had just about everything we needed for a new method of "staining" I wanted to try so the whole project cost under $30. Which was a lot better than spending almost $100 for old crates and I figure these will last longer anyway. But, these unfinished wooden crates weren't exactly doing it for me.

I've never worked with stain before so I looked around Pinterest and see if there was any other way to make the crates look antique. I found
this tutorial showing how to use tea and a steel wool/vinegar mixture. I'll give a brief overview of what I did but check out that tutorial for more detailed instructions. I used two old jars and filled the first 3/4 full with White Vinegar and half of a steel wool dish scrubber. I read that this should sit for at least 24 hours but mine ended up sitting for about 2 days. I made a pitcher of tea and used the 3 used tea bags in the other jar (it may work better to use black tea but I used what I had). This ended up sitting for about 2 days also.

I was a little nervous about whether this would work but decided to give it a shot. The far right picture in the collage shows how the steel wool looked after sitting several hours in the vinegar. You can see that it has already started turning a darker color. After my concoctions sat for a couple of days, I ventured out in the heat of July to start my project. I laid out several paper bags and packaging papers on our patio area and used an old towel so I could get comfy. Oh, and rocks to keep the paper from flying up are optional but very helpful. :)
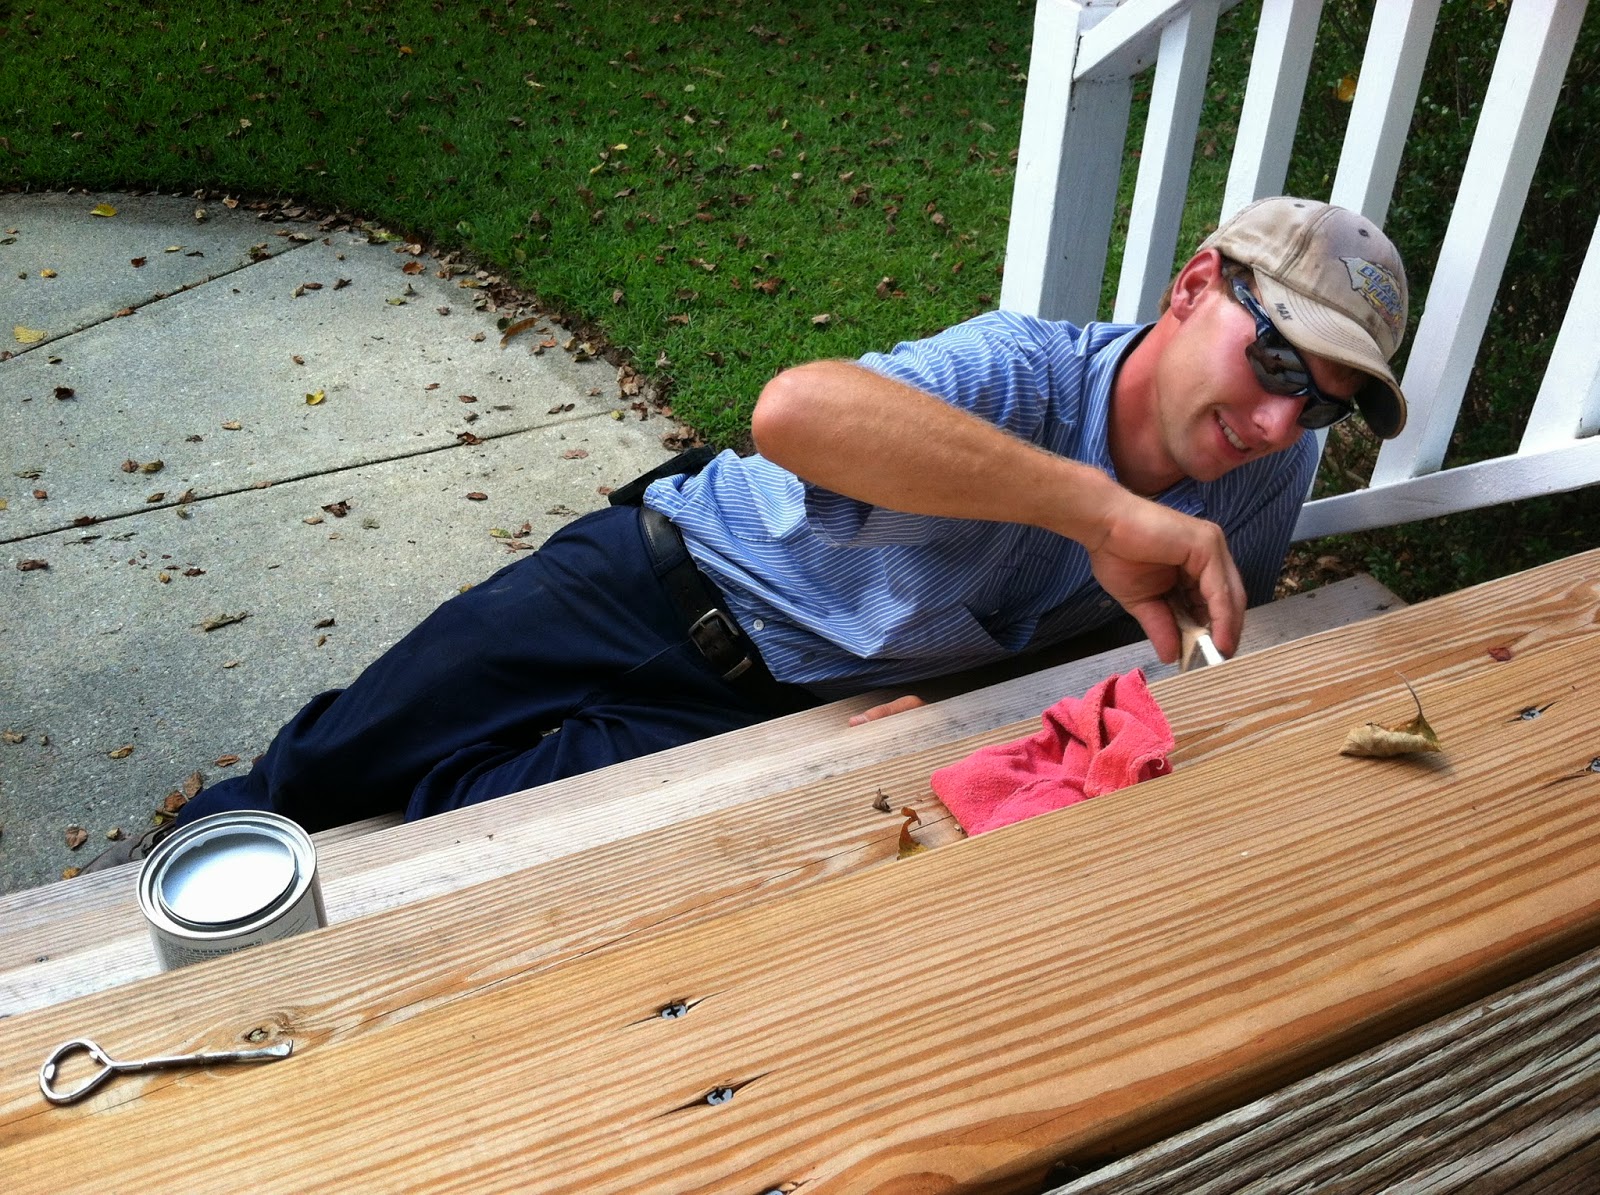
I sanded down the crate a little bit before I started. Colin was smart and picked up that little paint container at Lowes and it made the project so much easier! It would have been impossible to get my paint brush down in those tiny jars. So, make sure you either have a wide mouthed jar or a container to pour the mixture into.
The tea gets painted on first and will just make the crate look wet and a tad bit darker. Here's a picture comparing the crate painted with tea next to an unfinished crate. Side note, I ended up running out of tea after my first crate. I just had Colin fill the jar up again and let it sit for a while. This seemed to work fine but you may want to use more than 3 tea bags and more water if you have a large amount of wood to stain.
You should try to let the tea dry for about 30 minutes but it was hot and I'm impatient and only waited a couple of minutes. Next, I painted on the steel wool/vinegar mixture. Here's the coolest part! Almost immediately it starts making the wood look much darker and distressed. I know there's a scientific reason with something about the acid and blah blah blah but I'll just say it's magic.
The color will continue to get darker and look more distressed. The fun thing about this project is I found the messier I painted, the better looking the crate! Another thing I noticed was that pieces of wood on the crate would take the stain differently and the colors would vary from light to very dark and some reddish! We never figured that out so if you have some insight, please share. They definitely don't look perfect and uniform but I really wanted them to look like I randomly found these crates and they were well loved already.

The picture above shows the three crates in the different stages to show how the color changes. In clockwise order, it goes from unfinished to tea stained and then with the completed steel wool/vinegar. The first crate that was finished didn't stay as dark as it looked here and they all ended up about the same color. Here are some shots of the almost finished pieces (they still needed to finish drying). Yes, I am that crazy neighbor laying on the ground taking pictures of crates.
They all ended up being about the same color which is amazing after seeing how different they looked at different stages during the process. Needless to say, I'm a believe in the tea stain and steel wood/vinegar method now. And did I mention I hardly paid anything for the supplies? Just had to buy a paint brush and that paint container and the rest of the supplies were in my kitchen. Here's a before and after shot of the crates all set up and ready to go!
Now we have a cute little spot to park our shoes when we get home. I even have a place for my watering can and it doubles as decoration. I still may work with the "decorations" on and around the crates. I'm thinking a neat welcome sign may look good? Or some other antique things? I'll keep you updated on what happens.
So, there you have it, the completed shoe storage area! I'm glad this little spot is checked off my list. Now to find some more wood to weather... :)



.jpg)


