Showing posts with label front porch. Show all posts

Monday, March 13, 2017

A New Non-Leaky Roof

Back in April 2014 (yes, again I've waited too long to blog about something…procrastination is my middle name), we bit the bullet and had our roof replaced. We were told before we bought our house that a new roof would be needed soon because it still had the original twenty-two year old roof.


We made our offer with that in mind and just hoped we could get a couple more years out of the original roof. Now, we knew that there had been issues with water leaking in the attic since the home inspector found it but we had the previous owners replace the flashing around the chimney as advised by the inspector.

Then we had a stormy day in March and found water damage on the ceiling in the living room. We called in a great guy who looked around and felt like new shingles would solve the problem. Within a few weeks, his crew was spending the entire day on the roof and giving me a headache (note: if you're having your house re-shingled, don't plan on staying in the house or at least have Tylenol handy).


The original shingles were a lighter multi-color with some green but we went with a much darker and more dimensional shingle. This really changed the look of the house (especially because the design of our house shows so much of the roof).


We were sittin' pretty with our new roof until another spring storm rolled through. A new water spot showed up beside the first one in the living room. We called the roofer and he came to check things out again. He found the dormer window upstairs had a gap under the ledge that when the rain fell at the perfect angle, it would come in the house. This was an easy fix with about 10 minutes and some caulk. Update: we are still having issues with leaking when we have a bad storm. We are hoping new siding will fix the problem completely. One of the perks of being a homeowner is there is always a new problem/project to complete. :)

We were a little bummed that our new roof didn't help the leak. But, in the end, we have a new roof that will last for a long time and has added value to our home! We were also excited to check another major upgrade off our list. We still have a few more projects that we will do over the next couple of years that will continue to improve our nest.


It may surprise some of you how many things we've done to this house in under four years but we've done it all as we are able to pay cash for each project. We purchased a home on the low end of our budget so we have been able to afford these nice upgrades. If we had purchased another home we liked, none of these projects would have been possible so quickly.

In the 3 years that have passed since we did this project, we've done several small things and gotten a new HVAC unit. That's not really a blog worthy project but it was a major upgrade! We are saving up for our next projects which are new siding (our little green nest isn't too green right now) and new energy efficient windows. The siding will be a major undertaking and blog worthy project so I'll try to update the blog when that time rolls around. Or a few years after. Be patient with me. ;)

Thursday, June 19, 2014

A Little Stain Goes A Long Way!

I know it's been too long since my last post. Thank you to everyone who still mentions how much they like my blog. It's so nice to know people enjoy it and it helps me remember to update it! Sorry it took about 6 months… :)

Now, to make things confusing I'm jumping back to October to share some before and afters of our front porch and deck. I figure it's 95 degrees outside and everyone is melting, so why not share some pictures that include Fall decorations to help cool things down??


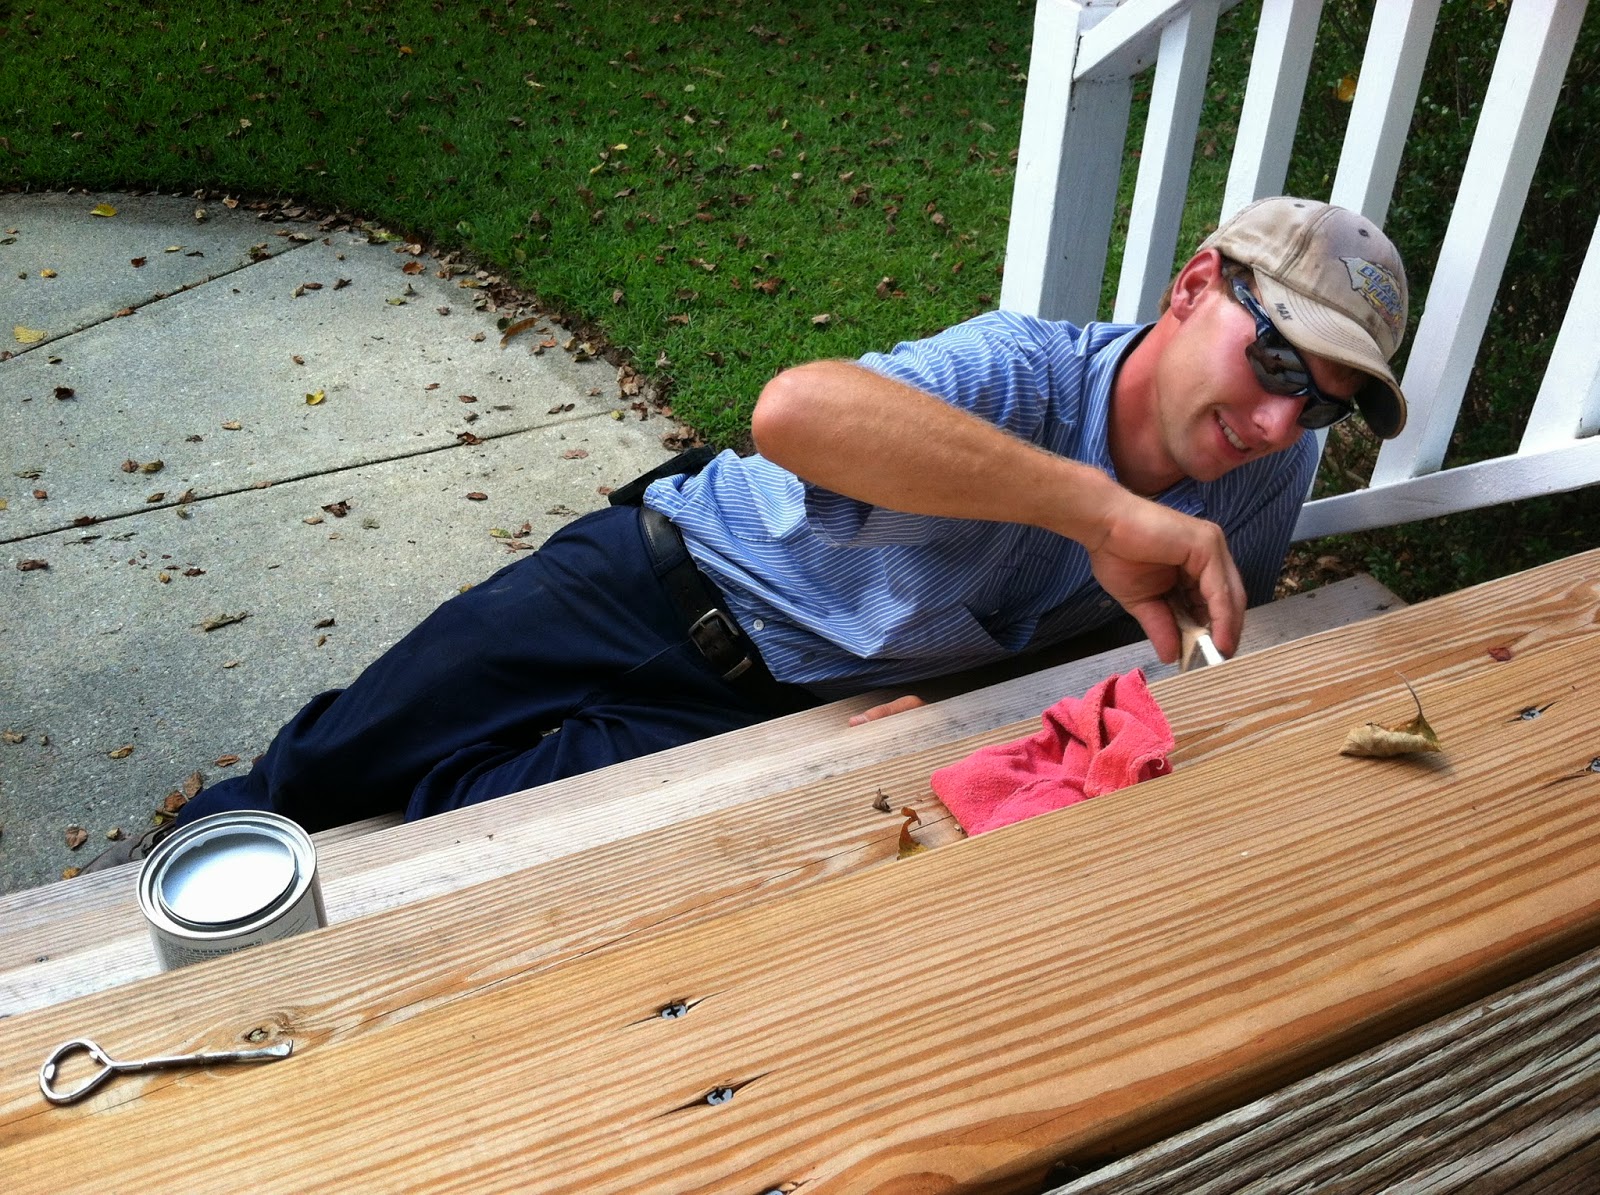
The front porch and deck were in pretty good shape when we bought the house. We did think the front steps needed to be safer so Colin put new boards there. Here's the handsome guy doing some painting to help them even more!


After we saw the new steps, it was a huge difference with the older wood on the rest of the porch. It was very gray and we think it was never treated or sealed. The deck had the same problem and we decided it would be nice to have everything power washed and stained. 


Just being power washed really made everything look better. You can see the big difference between the only power washed versus the stained sections on the deck. Yes, I did creep on the workers from the upstairs bathroom several times that day.


The front porch swing was on the updates list from the very beginning. That thing was in rough shape. We chose to have it painted black to match the shutters instead of staining it. I'm glad we did because it really stands out now. These shots show how extreme the differences were with the stain too. The after is a huge improvement!


And to finish it all off, we added two black Cracker Barrel rocking chairs. The rocking chairs are the perfect Southern touch that make the front porch adorable. I found the "table" between the chairs at an antique sale right down the road. It's an old apple basket that we thought would look just rustic enough. 


Here's a shot of a cute kitty enjoying his new front porch. Actually, he was most likely begging to come inside. Now I'm wishing it was a cool October night on the front porch instead of a sweaty June afternoon. :)

Tuesday, July 16, 2013

Weathered Wood Crates


From the day we first moved into our adorable house, there's been one area that needed some attention. I knew that with a little Pinterest inspiration, this spot could be spectacular. This is by the side door that goes into the kitchen and we use it all the time. Hence, it is the easiest spot for Colin to leave his dirty work boots (thankfully he doesn't wear them in the house). We ended up leaving other shoes, a watering can, and a broom for a while too. Not exactly a welcoming sight for visitors or us. Here it is:


Our first idea was to find a storage bench but after looking around for a couple of months we realized that it would be hard to locate a bench for that small spot. I stumbled upon a blog and her shoe parking idea was perfect. This was inspiration I needed.

We went to an antique show a few of weekends ago and I found some old crates there. I decided $30 for one crappy antique crate was a little ridiculous especially when I needed two or three. I had seen several ideas on Pinterest using crates from craft stores so I decided that was the way to go. I ended up spending under $25 for three crates by using a couple coupons. We had just about everything we needed for a new method of "staining" I wanted to try so the whole project cost under $30. Which was a lot better than spending almost $100 for old crates and I figure these will last longer anyway. But, these unfinished wooden crates weren't exactly doing it for me.


I've never worked with stain before so I looked around Pinterest and see if there was any other way to make the crates look antique. I found this tutorial showing how to use tea and a steel wool/vinegar mixture. I'll give a brief overview of what I did but check out that tutorial for more detailed instructions. I used two old jars and filled the first 3/4 full with White Vinegar and half of a steel wool dish scrubber. I read that this should sit for at least 24  hours but mine ended up sitting for about 2 days. I made a pitcher of tea and used the 3 used tea bags in the other jar (it may work better to use black tea but I used what I had). This ended up sitting for about 2 days also.


I was a little nervous about whether this would work but decided to give it a shot. The far right picture in the collage shows how the steel wool looked after sitting several hours in the vinegar. You can see that it has already started turning a darker color. After my concoctions sat for a couple of days, I ventured out in the heat of July to start my project. I laid out several paper bags and packaging papers on our patio area and used an old towel so I could get comfy. Oh, and rocks to keep the paper from flying up are optional but very helpful. :)


I sanded down the crate a little bit before I started. Colin was smart and picked up that little paint container at Lowes and it made the project so much easier! It would have been impossible to get my paint brush down in those tiny jars. So, make sure you either have a wide mouthed jar or a container to pour the mixture into.

The tea gets painted on first and will just make the crate look wet and a tad bit darker. Here's a picture comparing the crate painted with tea next to an unfinished crate. Side note, I ended up running out of tea after my first crate. I just had Colin fill the jar up again and let it sit for a while. This seemed to work fine but you may want to use more than 3 tea bags and more water if you have a large amount of wood to stain.


You should try to let the tea dry for about 30 minutes but it was hot and I'm impatient and only waited a couple of minutes. Next, I painted on the steel wool/vinegar mixture. Here's the coolest part! Almost immediately it starts making the wood look much darker and distressed. I know there's a scientific reason with something about the acid and blah blah blah but I'll just say it's magic.


The color will continue to get darker and look more distressed. The fun thing about this project is I found the messier I painted, the better looking the crate! Another thing I noticed was that pieces of wood on the crate would take the stain differently and the colors would vary from light to very dark and some reddish! We never figured that out so if you have some insight, please share. They definitely don't look perfect and uniform but I really wanted them to look like I randomly found these crates and they were well loved already. 


The picture above shows the three crates in the different stages to show how the color changes. In clockwise order, it goes from unfinished to tea stained and then with the completed steel wool/vinegar. The first crate that was finished didn't stay as dark as it looked here and they all ended up about the same color. Here are some shots of the almost finished pieces (they still needed to finish drying). Yes, I am that crazy neighbor laying on the ground taking pictures of crates.


They all ended up being about the same color which is amazing after seeing how different they looked at different stages during the process. Needless to say, I'm a believe in the tea stain and steel wood/vinegar method now. And did I mention I hardly paid anything for the supplies? Just had to buy a paint brush and that paint container and the rest of the supplies were in my kitchen. Here's a before and after shot of the crates all set up and ready to go!


Now we have a cute little spot to park our shoes when we get home. I even have a place for my watering can and it doubles as decoration.  I still may work with the "decorations" on and around the crates. I'm thinking a neat welcome sign may look good? Or some other antique things? I'll keep you updated on what happens.


So, there you have it, the completed shoe storage area! I'm glad this little spot is checked off my list. Now to find some more wood to weather... :)

Wednesday, April 3, 2013

Welcome!

First things first, welcome to my blog! Why, "Our Little Green Nest" you ask?


Well, after much deliberation, I decided this name fully captured how we feel about our new home. It's ours (woohoo!), it's little (a whopping 1,500 sq. ft.), it's green (which I love) and it's a nest (cuter than saying house...and I had a picture of a nest). 


I'll be posting pictures of projects we're doing for our own records and to keep family and friends updated. I'm hoping some good before and after pictures will be coming soon. Everyone loves a good before and after picture, right?